Sliding Glass Door Roller Replacement: A Step-by-Step Guide to Restoring Smooth Operation
Sliding Glass Door Roller Replacement: A Step-by-Step Guide to Restoring Smooth Operation
Blog Article

Sliding Doors Repair Guys are a great addition to any home, offering easy access to outdoor spaces, natural light, and a modern aesthetic. However, over time, the rollers on sliding glass doors can wear down or become damaged, causing the door to become difficult to slide, or even making it get stuck completely. When this happens, replacing the rollers is often the best solution.
In this guide, we'll walk you through the steps involved in replacing the rollers on a sliding glass door. Whether you're a DIY enthusiast or simply looking to understand the process before calling in a professional, this article will help you restore your sliding door’s smooth operation.
Why Sliding Glass Door Rollers Need Replacing
The rollers are the small, circular components at the bottom of your sliding glass door. They are responsible for allowing the door to glide smoothly along the track. Over time, these rollers can wear out, break, or become clogged with dirt and debris. Common reasons for roller failure include:
- Wear and Tear: The constant friction from opening and closing the door can cause the rollers to break down over time.
Dirt and Debris: Dirt, dust, and other particles can get trapped in the rollers, making it difficult for the door to slide smoothly.
Rust: Exposure to moisture can cause the rollers to rust, affecting their performance.
Misalignment: Improper installation or heavy usage can cause the rollers to become misaligned, leading to uneven movement.
When the rollers are in poor condition, the door may become hard to open or close, may make loud scraping noises, or may fall off the track entirely. In these cases, replacing the rollers is essential.
Signs That You Need to Replace the Rollers
Before diving into the roller replacement process, it's important to know when to replace them. Here are some signs that indicate your sliding glass door rollers need to be replaced:
Difficulty Opening or Closing the Door: If the door feels heavy or sluggish when opening or closing, it may be due to worn-out rollers.
Unusual Noises: Grinding, scraping, or squeaking noises when moving the door could be a sign that the rollers are damaged.
Door Is Off Track: If the door jumps off the track or doesn’t align properly, it could be due to broken or misaligned rollers.
Visible Damage: If you can see cracks, rust, or wear on the rollers when inspecting them, it's a clear sign that replacement is necessary.
Tools You Will Need for Sliding Glass Door Roller Replacement
Before starting the replacement process, make sure you have the right tools. Here’s a list of items you’ll need:
Screwdriver (Phillips and flat-head)
Utility knife
Pliers
Tape measure
Replacement rollers (make sure they match the size of your current rollers)
Lubricant (for the track and new rollers)
Rubber mallet (optional)
Step-by-Step Guide to Replacing Sliding Glass Door Rollers
Now that you have the tools and know when to replace the rollers, let’s walk through the process step by step.
Step 1: Remove the Sliding Glass Door
The first step in replacing the rollers is to remove the door from its track. This can be a bit tricky because sliding glass doors can be heavy, so it’s important to have a second person help with this task.
Unlock the door: Begin by unlocking the sliding door and sliding it open slightly.
Lift the door: Most sliding doors have adjustable rollers, so lift the door up slightly to disengage the rollers from the track.
Remove the door from the track: With the door lifted, tilt it at an angle and carefully pull it away from the track. Be cautious when handling the door to avoid damaging the glass.
Step 2: Inspect the Rollers
Once the door is removed, you can inspect the rollers. Look for any visible damage, wear, or rust. Depending on your door model, the rollers may be mounted at the bottom or inside the door frame.
If the rollers are simply dirty, cleaning them may restore some functionality.
If they are cracked, rusted, or significantly worn down, it’s time to replace them.
Step 3: Remove the Old Rollers
Next, you’ll need to remove the old rollers. The method can vary depending on the door design, but typically, you’ll need to remove a retaining screw or fastener holding the roller in place.
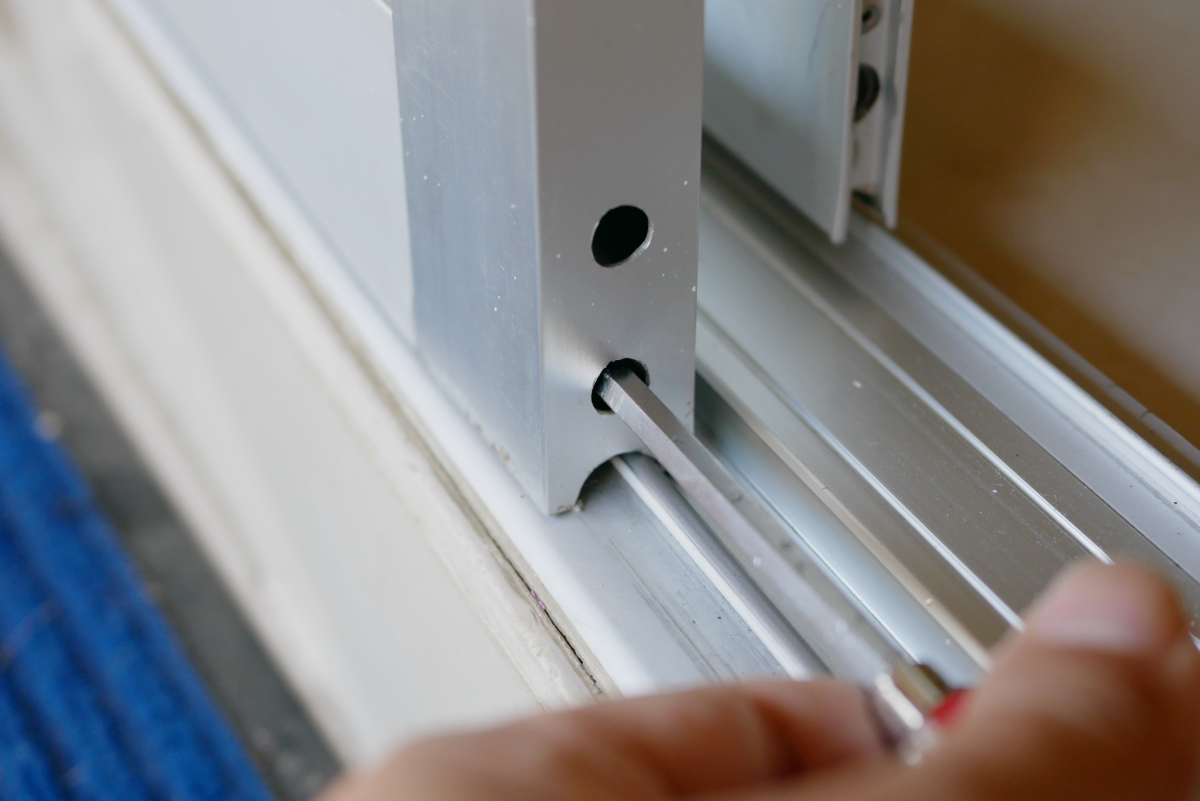
Locate the roller fastener: This can be a screw or pin holding the roller in place. Use a screwdriver to remove it.
Remove the roller: Once the fastener is removed, slide the roller out of its housing. Be careful not to damage any surrounding parts when removing the roller.
If the roller is stuck, gently tap it with a rubber mallet to loosen it.
Step 4: Install the New Rollers
Once the old rollers are removed, it’s time to install the new ones.
Position the new rollers: Align the new roller in the same position as the old one. Make sure it fits securely into the roller housing.
Attach the roller: Use the screws or fasteners to secure the new roller in place. Be sure the roller is tight but not overtightened, as this could affect its function.
Adjust the roller height: Some sliding doors have adjustable rollers. If this is the case, adjust the height of the new rollers to match the original setting. This ensures the door will slide smoothly and align properly on the track.
Step 5: Reinstall the Door
Now that the new rollers are in place, it’s time to put the door back onto the track.
Lift the door: With the help of another person, lift the door back onto the track. Ensure that the rollers are aligned properly and sit securely in the track.
Slide the door into place: Carefully slide the door into position and lower it onto the track.
Check the movement: Open and close the door to ensure it moves smoothly. If necessary, adjust the height of the rollers to achieve optimal alignment.
Step 6: Lubricate the Track
Once the door is back in place, it's a good idea to lubricate the track to ensure smooth operation. Use a silicone-based lubricant (avoid oil-based lubricants, as they can attract dirt and debris) to coat the track lightly. This will help the door glide smoothly and prevent further wear on the rollers.
Step 7: Test the Door
Finally, test the sliding glass door by opening and closing it several times. Ensure the door is operating smoothly and without any unusual noises. If the door is still difficult to open or close, you may need to make additional adjustments to the rollers or check for other underlying issues.
When to Call a Professional
While replacing sliding glass door rollers is a manageable DIY project for many homeowners, there are situations where it may be best to call a professional:
If the door is too heavy or difficult to remove on your own
If the track is severely damaged and needs replacement
If you’re unsure about the roller replacement process or lack the tools
Professional repair services can quickly and safely replace the rollers, ensuring that your door works like new again.
Conclusion
Replacing the rollers on your sliding glass door is a straightforward process that can restore the door’s functionality and smooth operation. By following the steps outlined in this guide, you can replace the rollers yourself or have a professional do the job for you. Regardless of your choice, addressing roller issues promptly will extend the lifespan of your sliding door, improve its performance, and make your home more comfortable.
Company Name Sliding Doors Repair Guys
Phone (786) 578-0491
Website https://www.slidingdoorsrepairguys.com/ Report this page